Best internet devices vary depending on the area’s network coverage and performance. Before choosing any of the devices mentioned – Zong 4G Device, Telenor 4G Device, Jazz Super 4G Device, or PTCL Charji Evo Device – It’s essential to assess the network…
Continue Reading

In today’s fast-paced business landscape, flexible workspace has gained much traction among modern entrepreneurs and businesses alike. More and more business leaders understand the necessity for adaptability to keep up with evolving market demands; coworking space management software plays an…
![How to Start a Clothing Business in Pakistan? [Guide in 2024]](https://www.stackoftuts.com/wp-content/uploads/2022/03/How-to-Start-a-Clothing-Business-in-Pakistan-3-768x402.jpg)
Clothing is one of the most basic human needs and also one of the most profitable businesses in the world. Pakistan has a huge clothing market, especially for women’s wear, which accounts for more than 70% of the total clothing…
Are you a student in Pakistan who wants to earn some extra money online? Do you want to work from home without investing any money? If yes, then you are in luck. There are many online jobs for students in…

Pakistan is a hub of talented individuals who are making their mark in the world of freelancing. With the rise of digital platforms, freelancing has become a viable career option for many Pakistanis. Here, we will discuss some of the best…

Here are the Top 20 Best Online Earning Apps in Pakistan including Jazzcash, EasyPesa, Fiverr, Google Opinion Rewards, OLX, and many others. So let’s take a review one by one.
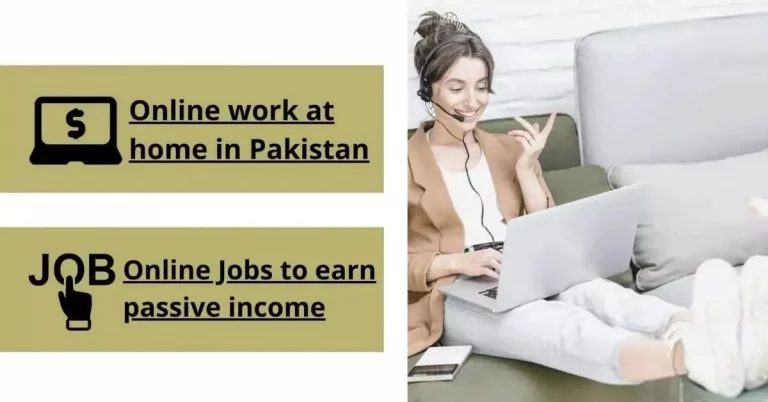
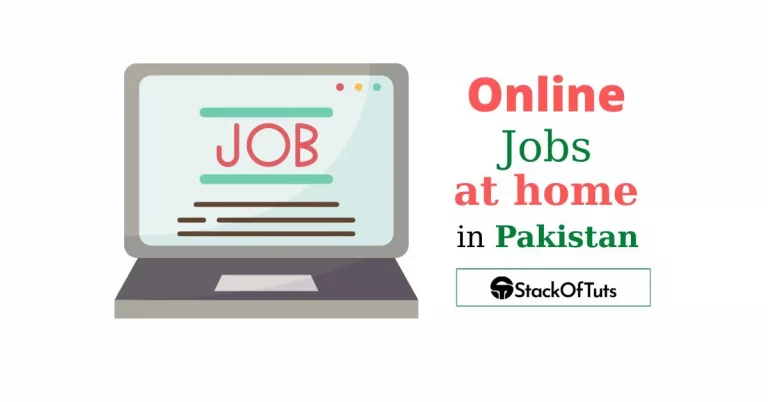
Are you looking for ways to earn money online in Pakistan without any investment? Do you want to work from the comfort of your home and enjoy a flexible schedule? If yes, then you are in the right place. 🙌…
Get the best list of Internet Devices in Pakistan, the best device for you will depend on your budget, intended usage, and specific.

Many prospective authors and companies ask themselves, “Is Textbroker available in Pakistan?” in the constantly changing world of digital content production. Textbroker is a well-known content writing business that has established a strong global reputation by giving clients access to…

The query “How do debt reduction programs work?” arises in today’s financially complex world. is on the personalities of numerous people who are battling with obligation. Understanding the subtleties of these projects is pivotal for anybody looking for a way…

In the fast-paced world of investments, the fusion of digital marketing tools and analytics with investment strategies is becoming increasingly important. This blog post explores how individual investors can leverage modern marketing technologies to understand market trends, optimize trading decisions,…

“How do car loan interest rates work?” is a fundamental inquiry that each potential vehicle purchaser ought to know about while exploring the complicated universe of car support. This article aims to simplify the complexities of vehicle advance loan fees…

With the onset of winter temperatures in Pakistan, finding an ideal winter jacket assumes critical importance. In a nation renowned for its cultural abundance and varied climate, maintaining warmth and fashion sense is not merely an essential requirement but also…

In 2024, the landscape of earning money through social media is set to be diverse and accessible. How to earn money on social media like Instagram, Twitter, or YouTube can be a game-changer for many. There are various approaches to…

Finding the easiest accounting software for small businesses is not just a need in the fast-paced world of small enterprises; it’s a game-changer. With so many alternatives available, it might be difficult to choose the one that seamlessly corresponds with…

In today’s digital era, the quest for legitimate and lucrative online opportunities has led many to explore the world of paid surveys. Among these, surveys that pay real money stand out as a promising avenue for earning extra income. With…

Understanding the threat landscape helps organizations recognize their vulnerabilities and risks. This includes the attack surface, comprising infrastructure devices such as servers or network hardware, user endpoints like smartphones or tablets, and connected IoT devices. The human element is the…

Finding the best online bank for business accounts is crucial for entrepreneurs and small company owners in the current technological era. Due to the fast-paced transformation of the banking industry, more businesses are choosing online banking solutions. These online banks…

In the digital era, online gaming has evolved into more than just entertainment. It’s a virtual avenue for earning real money, and many are turning to this lucrative option for some extra cash. Among the plethora of options available, certain…

In today’s fast-paced world, the need for efficient and reliable communication is paramount. This is especially true in Pakistan, where the demand for versatile mobile technology is on the rise. The best dual SIM mobiles in Pakistan have become a…